Sign into Pullfrog console with GitHub
Navigate to the Pullfrog console and sign in with your GitHub account. This will authenticate you and allow Pullfrog to access your repositories.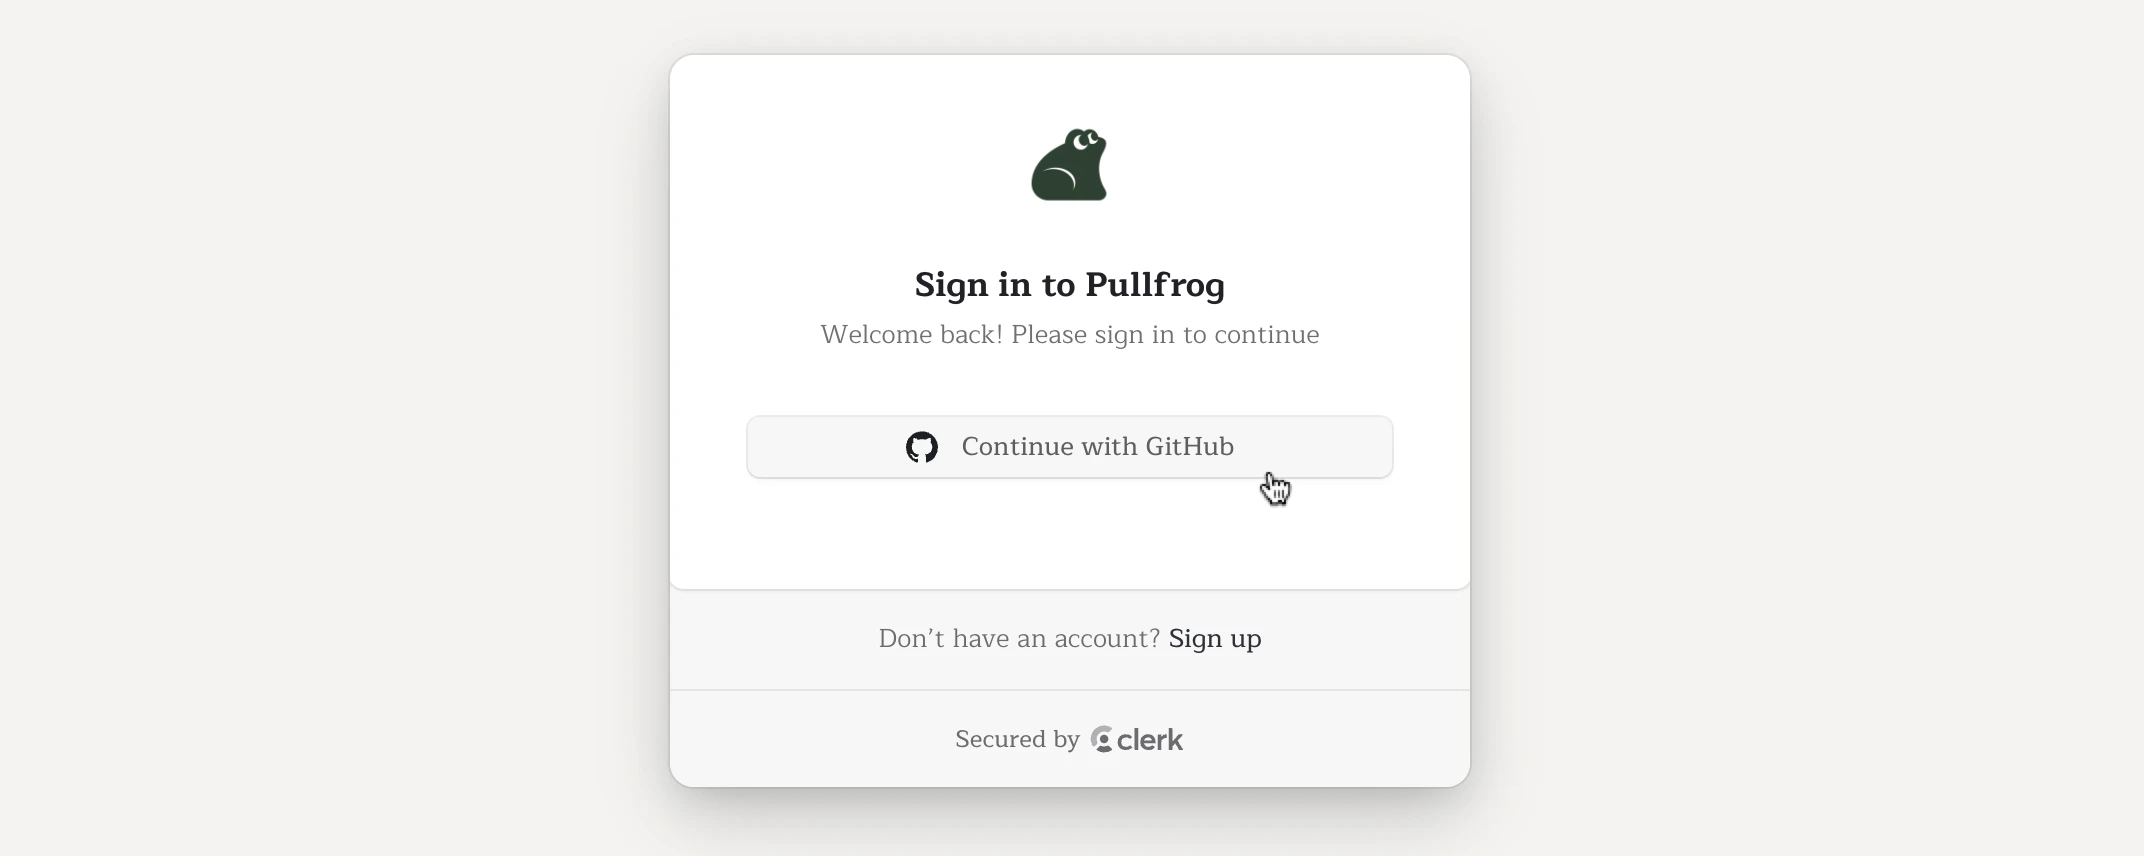
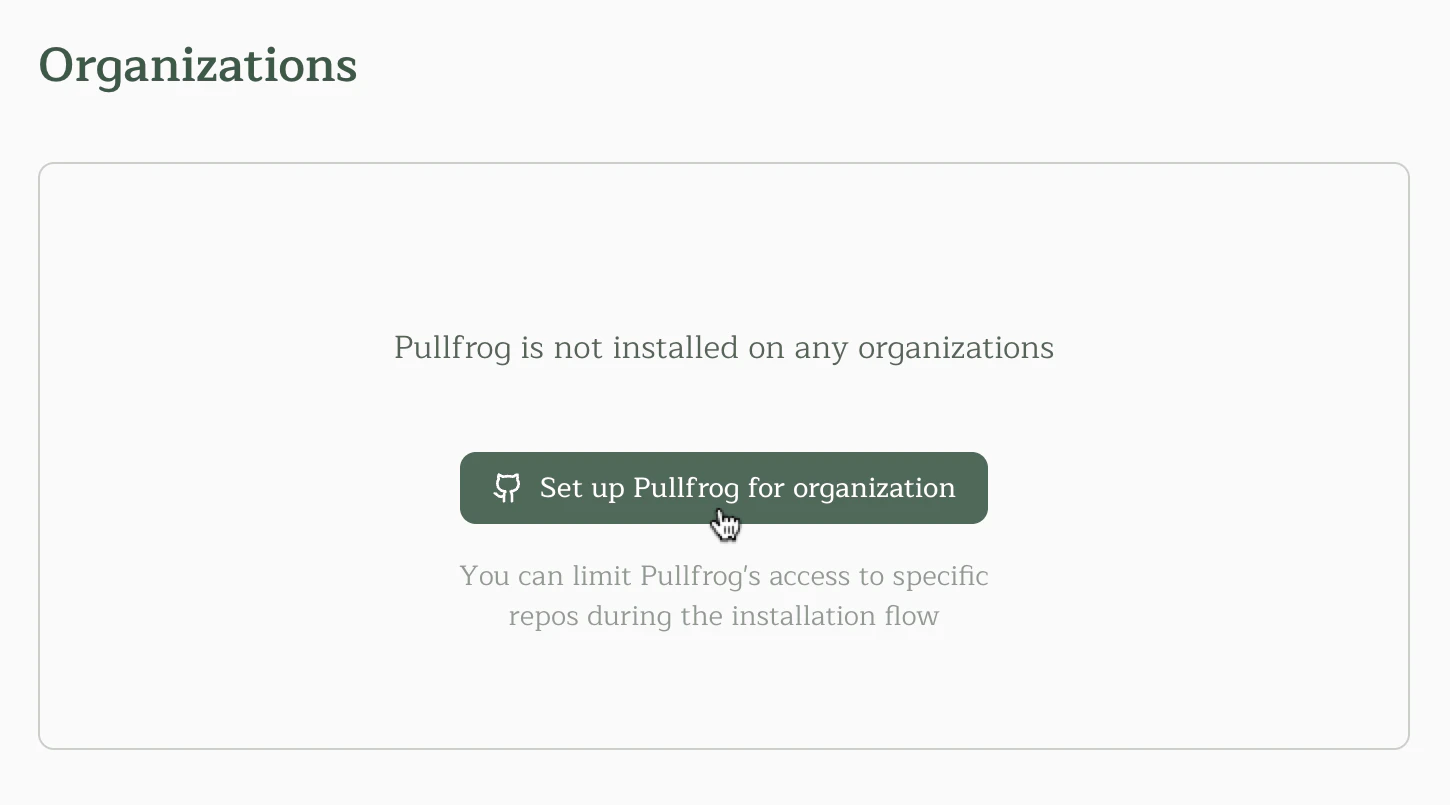
Install the Pullfrog app
Install the Pullfrog GitHub App on a GitHub account. During installation, you can choose to limit access to specific repositories or grant access to all repositories. You can install the Pullfrog GitHub App on your personal account: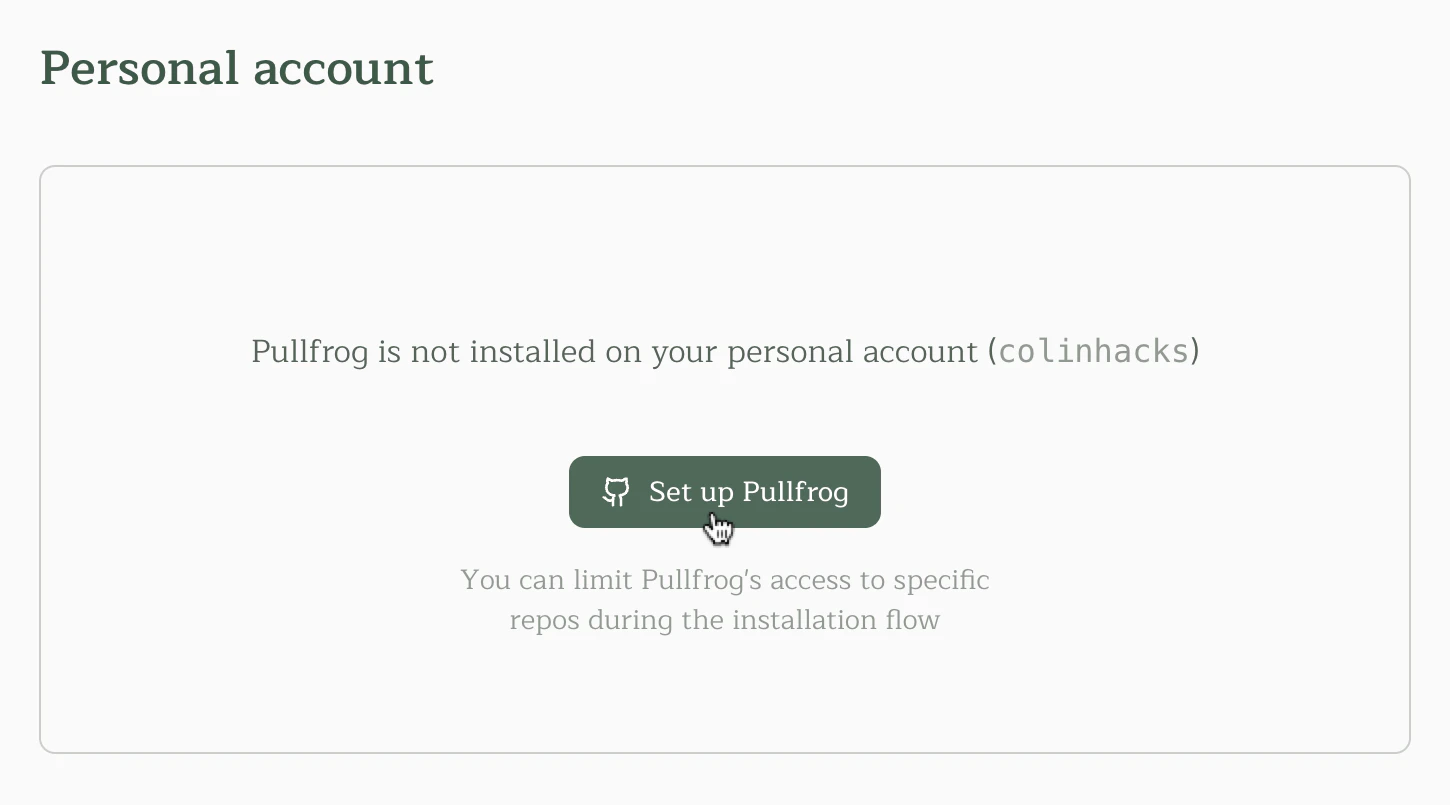
Select a repository
Select a repository you’d like to configure. While GitHub Apps are installed at the account level, all Pullfrog configuration is at the repo level — each repository has its own settings for triggers, modes, and agents.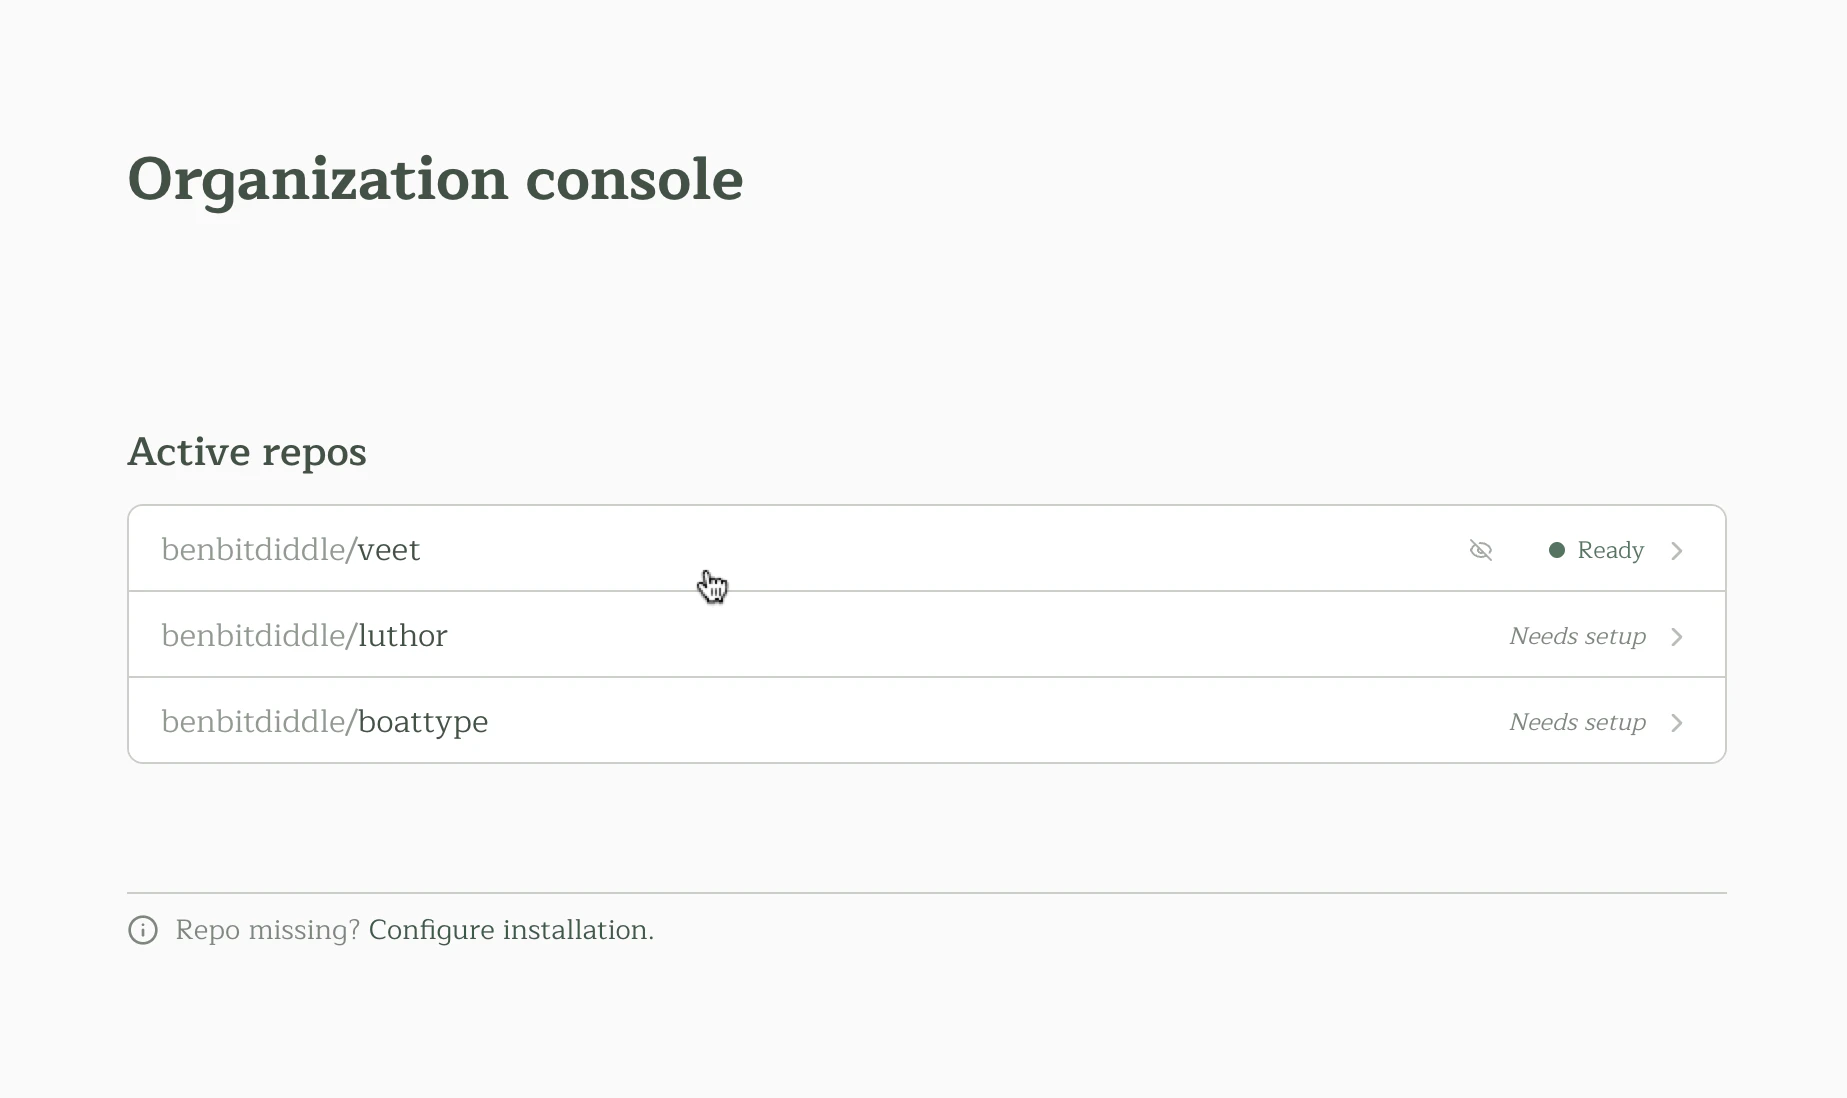
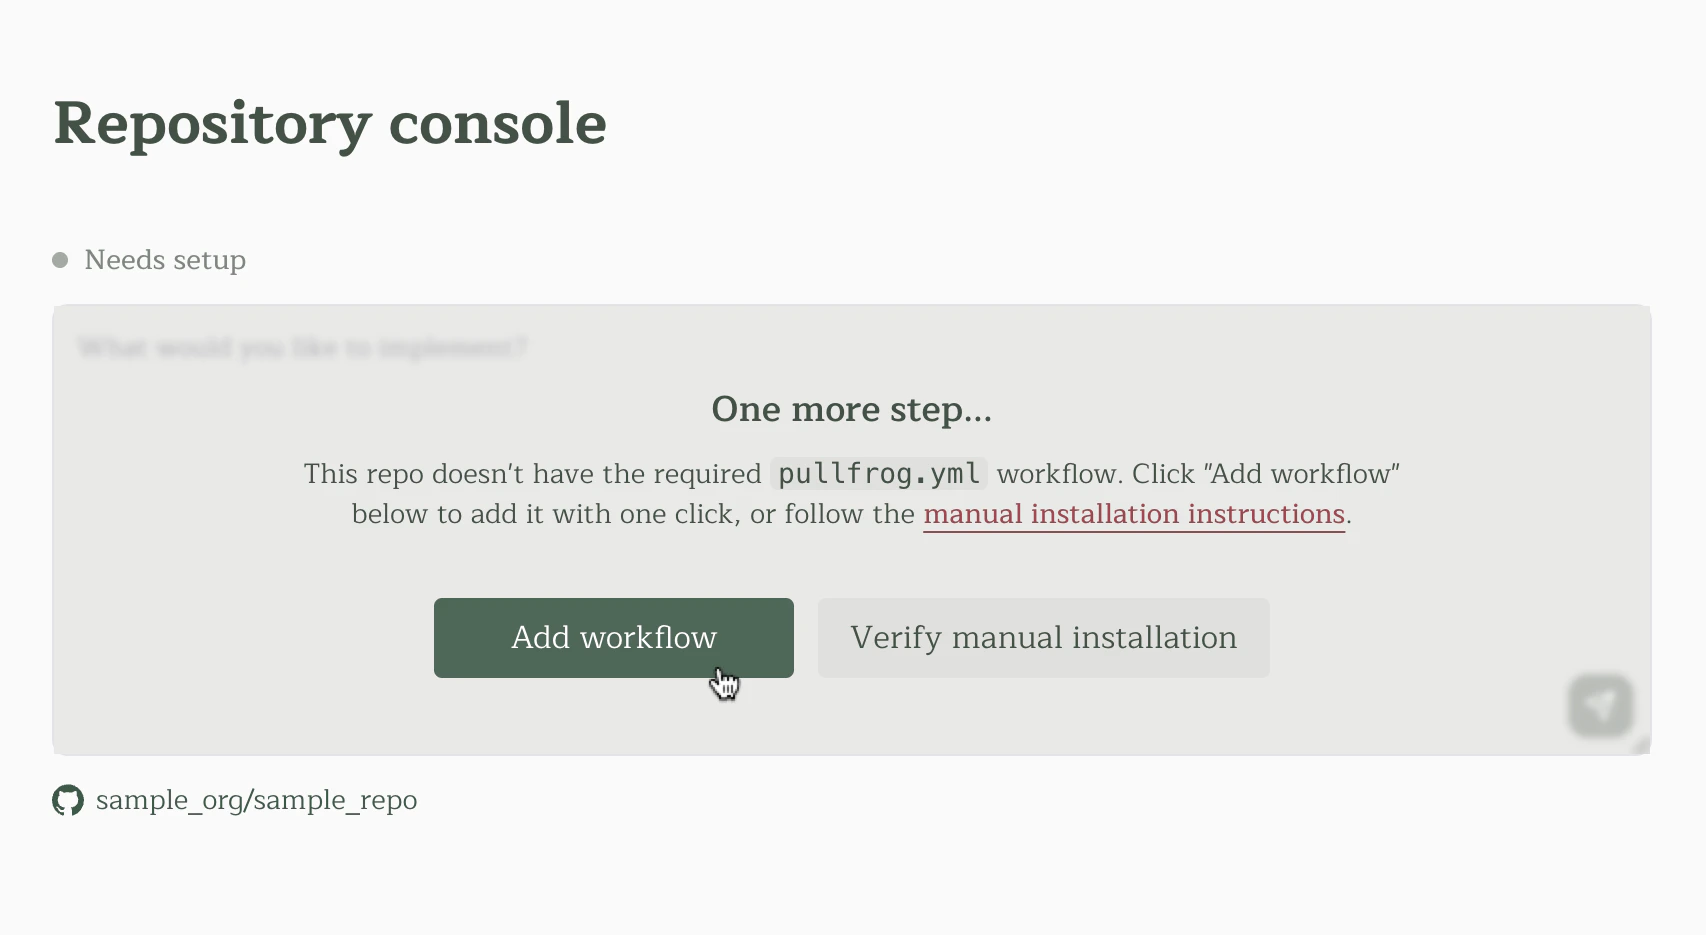
Add the pullfrog.yml workflow
You’ll be prompted to create the .github/workflows/pullfrog.yml file in your repository. Pullfrog uses this workflow to programmatically trigger agent runs on your repo. You can add it with one click from the dashboard.
Manual workflow setup
If you prefer to add the workflow manually, create.github/workflows/pullfrog.yml with the following content. (pullfrog.yaml also works if you prefer that extension.)
env: block is needed when you use Pullfrog Router or store provider keys as Pullfrog secrets — credentials are injected automatically at runtime. Add an env: mapping only if you keep keys in GitHub Actions secrets; see BYOK.
Set up model access
Pullfrog needs a way to call an LLM provider on your behalf. You have two options — pick one:Option 1: Pullfrog Router (recommended)
Pick Pullfrog Router in the console and claim$10 of free Router credit during the beta (open the Router tab — no card required). No provider keys to manage and no pullfrog.yml env wiring for model access.
Add a card under Billing when you want unlimited paid runs or auto-reload. See Billing for the full breakdown of plans, the Router, and top-ups.
Option 2: Bring your own keys
If you’d rather use your own provider keys directly, store them as Pullfrog secrets in the Model costs card (no workflow edits) or in GitHub Actions secrets (mapped viapullfrog.yml’s env: block). See BYOK for both flows and a full list of supported provider env vars.
Big Pickle is free and needs no keys at all.
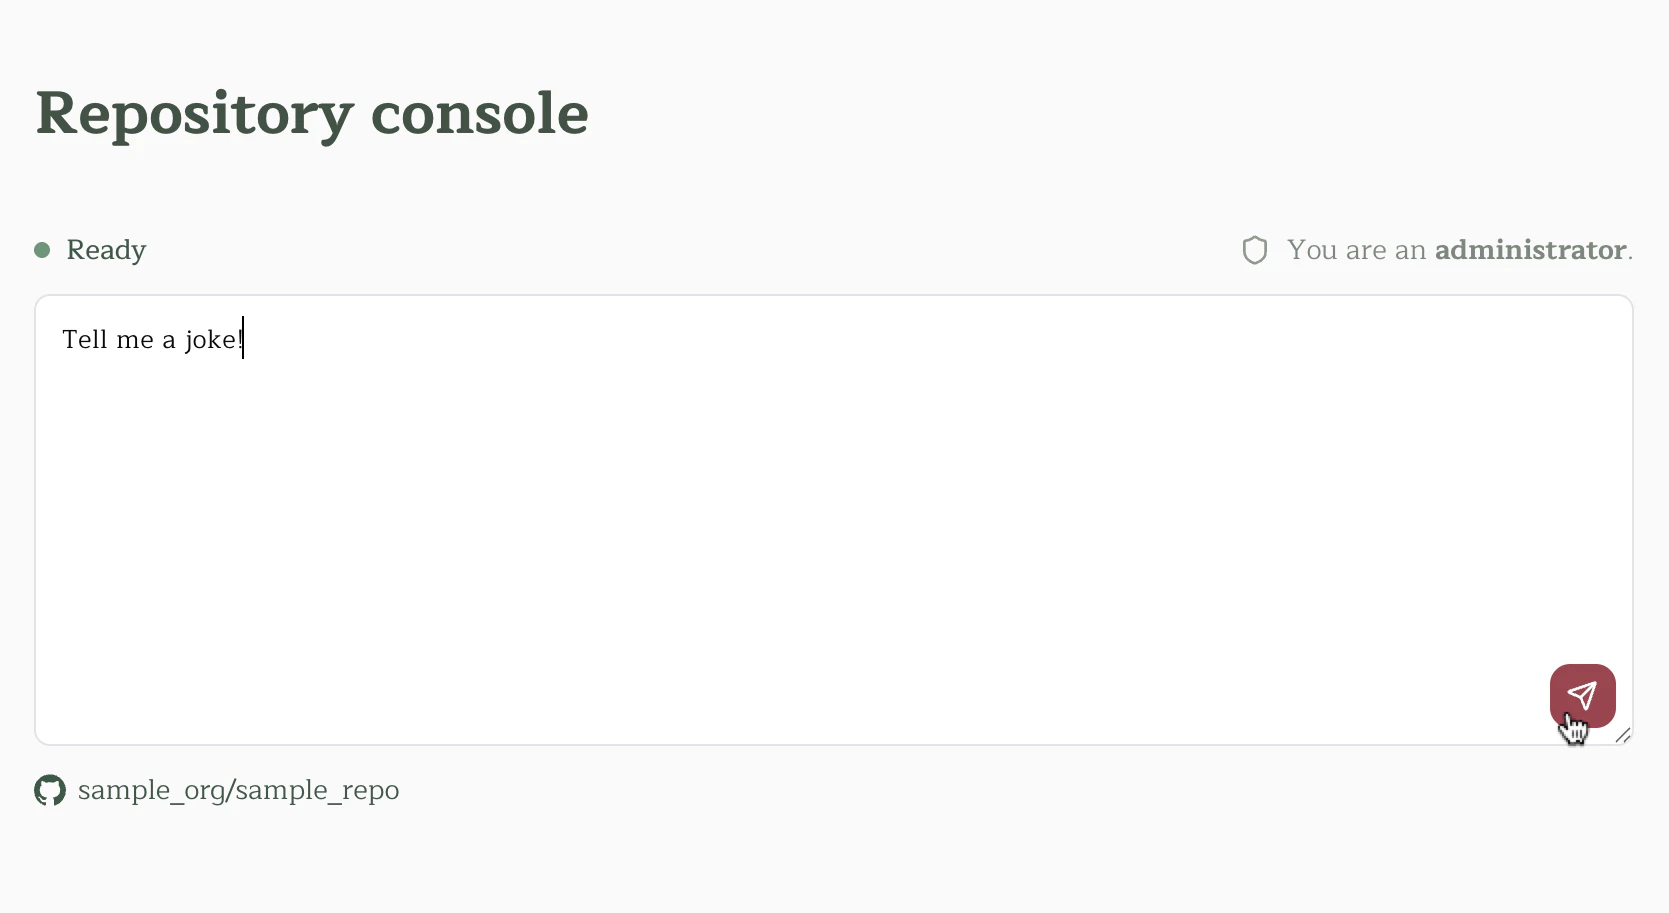
Test your installation
Once the workflow is installed and your API keys are configured, you can test Pullfrog using the prompt box in the dashboard:- Navigate to your repository in the Pullfrog dashboard
- Enter a prompt in the text box (e.g., “Tell me a joke”)
- Click the Send button, or press
Cmd+Enter(Mac) orCtrl+Enter(Windows/Linux)
Next steps
- Set up PR reviews, issue enrichment, and other automations
- Tune Build and Review instructions for your repo
- See CI integration for using the action as a primitive in custom workflows